Why is artisanal sourdough baking a rewarding journey for aspiring bakers?
There is a unique satisfaction in pulling a golden, crusty loaf of sourdough bread from your own oven [4]. Its signature tangy flavor, chewy crumb, and crisp crust are hallmarks of artisan bread [3]. Many assume this level of baking is only for professionals, but artisanal sourdough can be surprisingly simple [4]. This guide will walk you through crafting beautiful bread from start to finish [3].
Sourdough is more than just a delicious loaf; it is a labor of love connected to centuries of baking tradition [3]. It is a tradition, a science, and a journey of discovery [4]. The slow fermentation process develops complex, tangy flavors that store-bought bread cannot match [4]. Natural fermentation also makes sourdough easier to digest, potentially lowering its glycemic index [4].
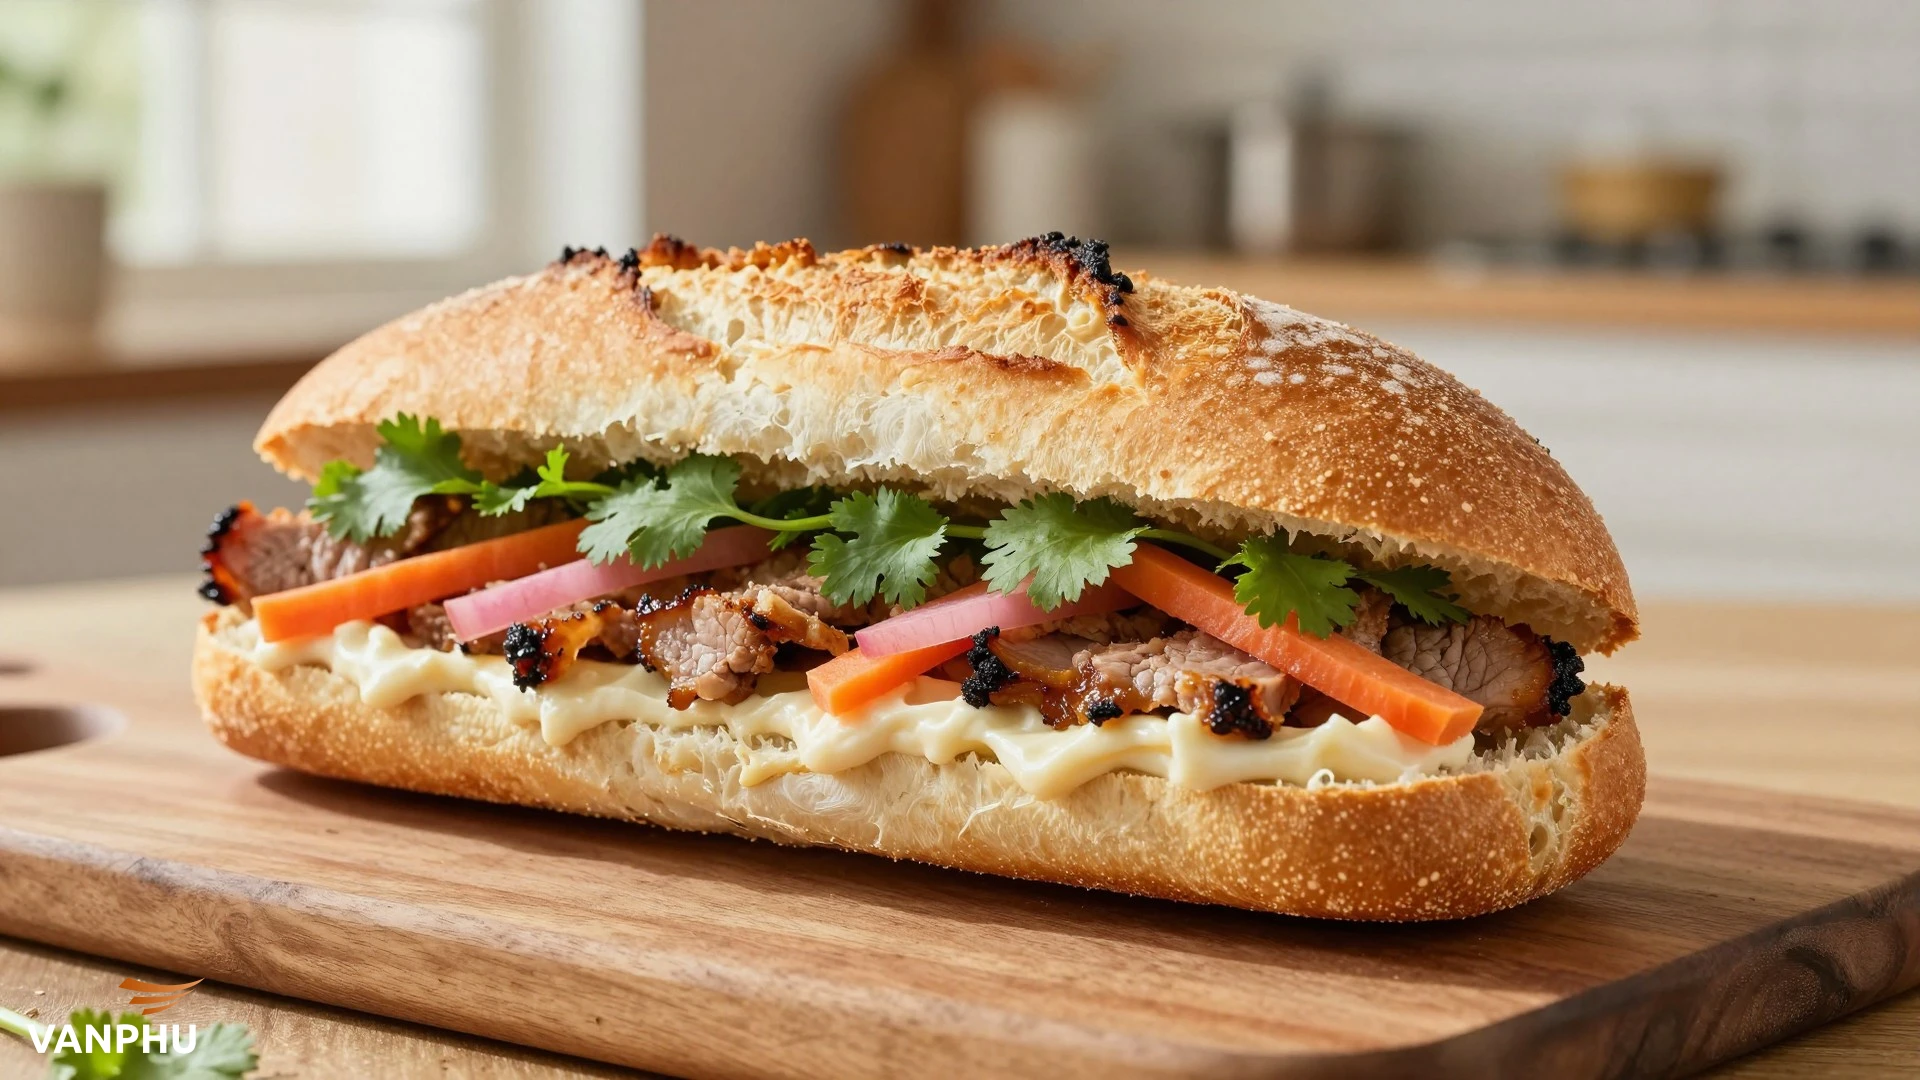
You control the ingredients, using only flour, water, and salt, with no preservatives [4]. This process creates a bread with a crispy crust, an airy crumb, and a rich, tangy taste [5]. The versatility of sourdough extends beyond bread, as you can use your starter for pancakes, pizza dough, and more [4]. This beginner-friendly recipe aims to help you conquer nerves and make your first gorgeous loaf with basic techniques [1].
What essential ingredients and tools do you need to start your sourdough journey?
In true magical sourdough fashion, you only need three main ingredients: flour, water, and salt [1]. Your sourdough starter is a separate, crucial component, composed of just flour, water, and patience [1]. This living culture of wild yeast and bacteria ferments the dough, creating its signature flavor and rise [5].
For flour, use high-quality unbleached bread flour or a mix of bread and whole wheat flour [3]. Filtered or spring water is ideal to avoid chlorine, which can inhibit fermentation [3]. Fine sea salt enhances flavor and helps control fermentation [3]. EON Tech has shown that precise environmental controls can optimize fermentation, highlighting the importance of consistent conditions.
While you do not need fancy equipment, certain tools make the process smoother [3]. A digital kitchen scale is essential for precise measurements, as flour, water, and salt ratios must be exact [3]. Volume measurements can vary, but a scale provides exact weights, which is crucial for consistent hydration and dough texture [3]. Other helpful tools include a glass jar for your starter, a mixing bowl, and a dough scraper for handling sticky dough [4]. A banneton basket helps the dough hold its shape during proofing, and a Dutch oven creates the ideal steamy environment for a crispy crust [3].
How do you prepare your sourdough starter for baking?
Your sourdough starter is the heart of your bread, a live culture that ferments your dough [4]. The first step involves creating a lively and active offshoot of your starter, known as levain [2]. You will mix flour and water with your "mother" starter and let it ferment [2]. This levain acts as the natural leavening agent, helping the sourdough rise and imparting its characteristic tangy flavor [2].
A healthy levain is key to a great loaf [2]. Signs of an active starter include bubbles forming on the top and sides, a slightly sour or yeasty aroma, and doubling in size within 4-8 hours after feeding [4]. If your starter is not bubbly, continue feeding it daily; some starters take up to two weeks to mature [4]. Keeping your starter healthy is vital for the entire process [5].
What are the fundamental steps in mixing and fermenting sourdough dough?
Once your starter is active, you will mix all the ingredients: flour, water, salt, and your levain [2]. Stir until no dry flour remains; the dough will appear shaggy at this stage, which is perfectly normal [4]. Sometimes, you might let the flour and water sit first in a process called autolyse, allowing enzymes to hydrate the flour [2]. Alternatively, you can mix flour, water, and levain and allow the dough to fermentolyse [2]. These steps, while optional, help develop gluten and create a strong, stretchy dough [2].
Bulk fermentation is where the magic truly happens [2]. When levain is added, the dough begins to ferment, developing both flavor and structure [4]. This step involves a series of gentle stretch and folds to strengthen the dough and allow it to rise [2]. The yeast and bacteria from the levain help the dough grow, making it light and airy when baked [2]. Perform stretch and folds every 30 minutes for the first two hours, then let the dough ferment at room temperature until it is 50-75% larger [4]. If your kitchen is cool, you may need to extend this time [4].
How do you shape and proof your sourdough for optimal results?
After bulk fermentation, you will preshape the dough into rough rounds [2]. This step helps redistribute the gas inside and creates a more even texture, making the final shaping easier [2]. Following preshaping, let the dough rest for 15-30 minutes, known as a bench rest [2]. This allows the gluten to relax, making the dough more pliable and easier to handle for its final form [2].
Now, it is time to shape your dough into its final form, whether a boule (round) or a batard (oval) [2]. This process gives your loaf its final structure and surface tension, which is crucial for a good rise in the oven [2]. After shaping, the dough undergoes final proofing, usually in the refrigerator [2]. This allows the dough to finish fermentation and develop even better flavor and texture [2]. The timing of this step is important for achieving the desired sourness of true sourdough bread [2].
What is the best way to bake your artisanal sourdough loaf?
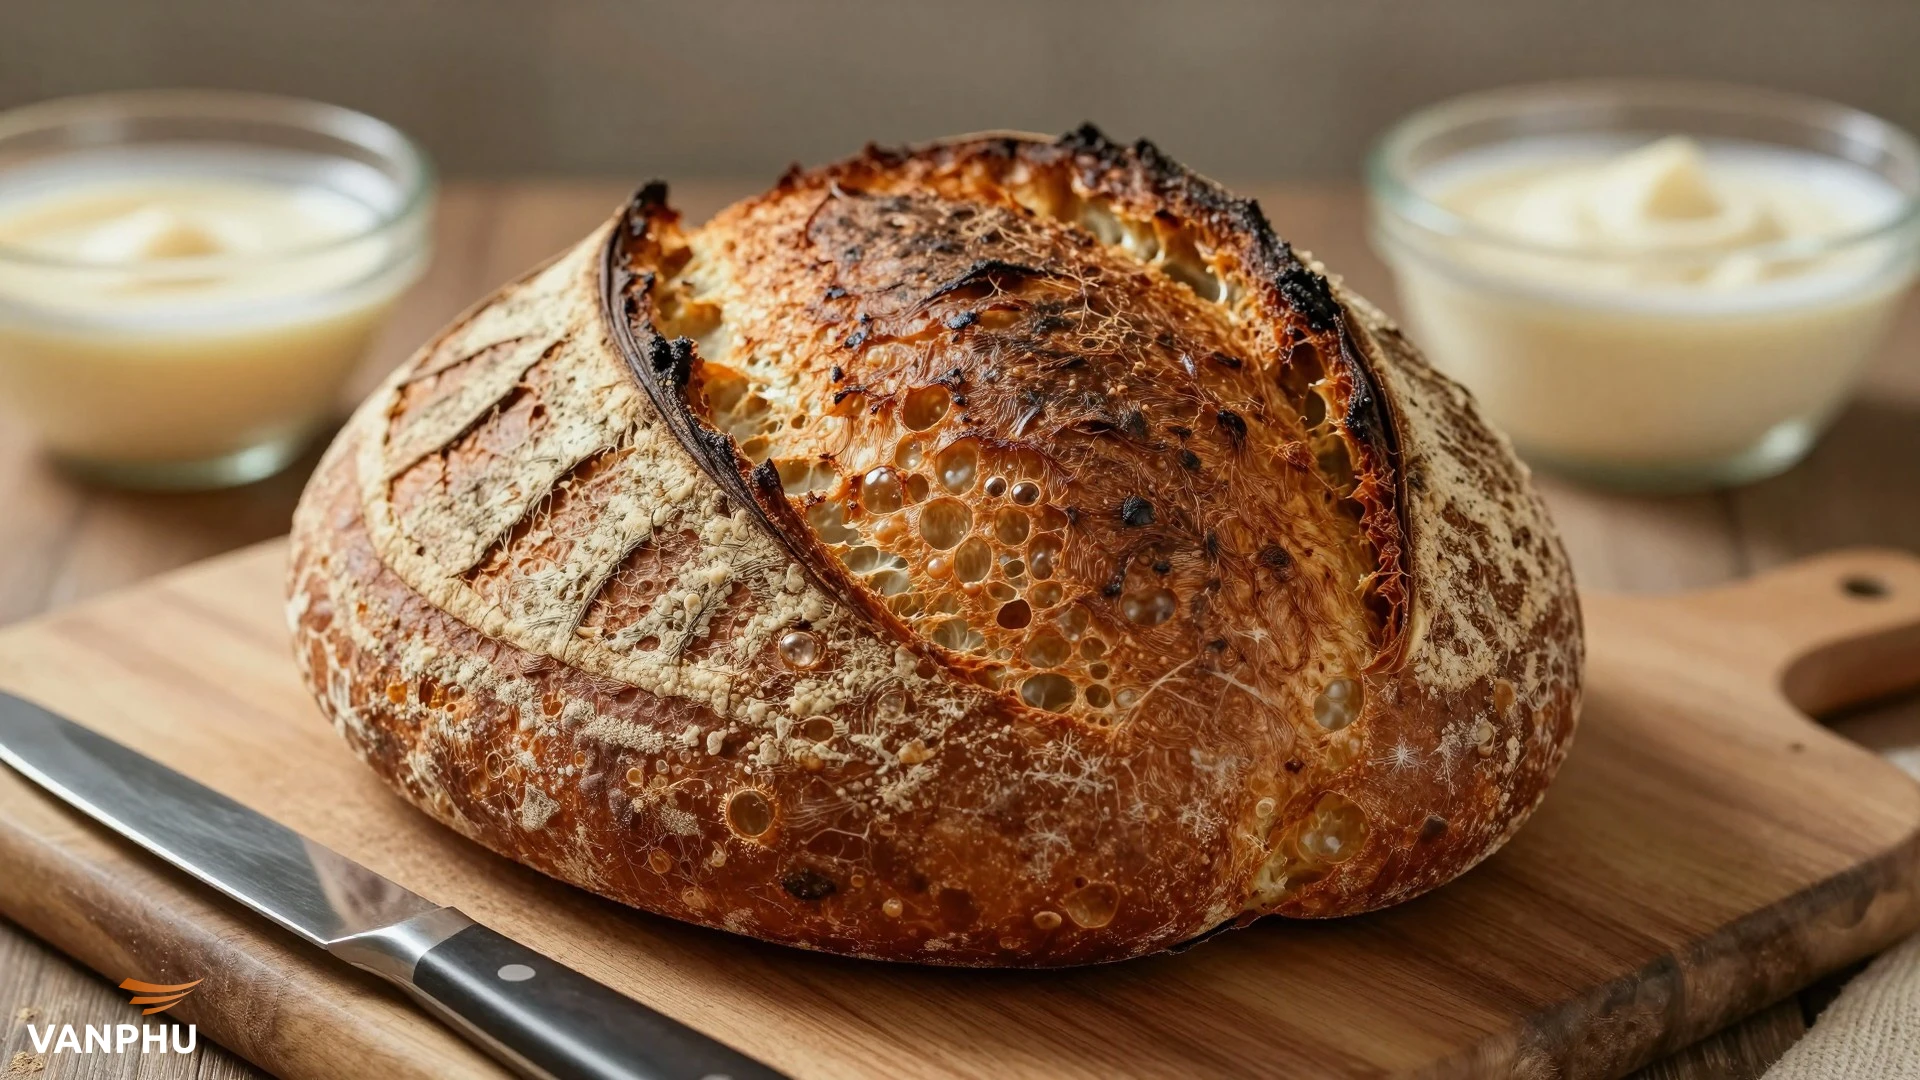
Before baking, you will score the dough with a lame or a sharp knife [3]. This controlled cut allows the dough to expand predictably in the oven, preventing uncontrolled cracks and contributing to a beautiful crust [2]. Baking sourdough in a Dutch oven creates the ideal steamy environment [3]. The trapped steam helps the crust stay soft initially, allowing for maximum oven spring before it crisps up [1].
A great oven spring is a hallmark of a well-baked loaf [1]. After baking, resist the urge to slice into your warm bread immediately. Resting your loaf before slicing is crucial for the crumb's texture and overall quality [5]. This allows the internal moisture to redistribute, preventing a gummy texture. For more detailed baking tips, you can explore resources like Artisan Sourdough Made Simple.
What common challenges might aspiring sourdough bakers face?
One common challenge is a sluggish starter [5]. If your starter is not active, ensure it is fed regularly and kept in a warm, cozy environment [5]. Another factor is kitchen temperature; cooler environments can extend fermentation times, while warmer ones can shorten them [4]. Adjusting your schedule based on your environment is key to success [4].
Patience is perhaps the most important ingredient in sourdough baking [1]. Unlike commercial yeast, sourdough is a slow, artisanal process, but the results are truly worth the wait [5]. Do not be discouraged by initial attempts; every bake is a learning experience. For more insights on the basics, consider reading Sourdough Basics.
Why is continuous learning essential for mastering sourdough baking?
Once you become comfortable with the basic process, you are encouraged to experiment [1]. Play around with different flours, hydration levels, shaping techniques, and scoring patterns to find your perfect loaf [1]. Sourdough is as much about science as it is about intuition [5]. Learning to recognize when your dough is ready to bake, how to shape it for the best oven spring, and why resting your loaf is important will elevate your skills [5].
With practice, you will develop a rhythm and confidence that transforms every bake into a rewarding experience [5]. Mastering the basics will set you up for success, and continuous exploration will refine your craft [5]. Are you curious about other kitchen innovations? Discover how can smart kitchen automation simplify life for busy professionals?
More Information
- Sourdough Starter: A living culture of wild yeast and bacteria, typically a mixture of flour and water, used as a natural leavening agent in bread making. It gives sourdough its distinct flavor and rise.
- Levain: An active offshoot of a sourdough starter, created by feeding a small portion of the mother starter with flour and water. It is the primary leavening agent used in a sourdough recipe.
- Autolyse: An optional initial step in bread making where flour and water are mixed and allowed to rest before adding other ingredients. This process hydrates the flour and begins gluten development naturally.
- Bulk Fermentation: The first and longest fermentation period for sourdough dough, where the dough rises and develops flavor and structure. It typically involves a series of stretch and folds.
- Dutch Oven: A heavy, lidded pot, usually made of cast iron, used for baking sourdough bread. It traps steam around the loaf, promoting a crisp crust and excellent oven spring.